Beauty Tips by Tania

Category Archives: Our Favorites

Destination Hawaii for Wedding Couples

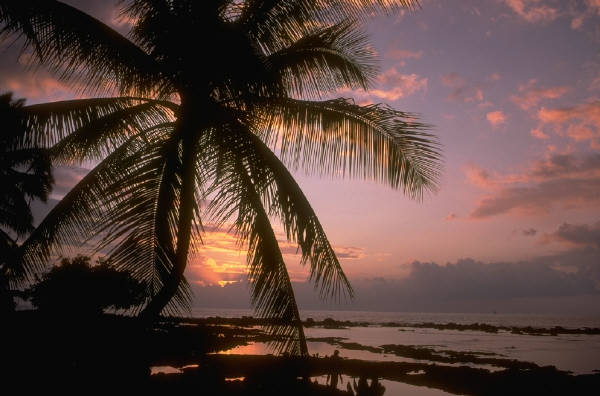
j0145116Whether you are coming to Honolulu for your destination wedding, or you are local and have friends and family flying in for your wedding, this is the perfect time to explore and enjoy the beauty of paradise. There are iconic parts of Oahu that all visitor’s should see at least once, and then you have the lesser known vista’s that you need a local to suggest, because they are not in any guidebook.

For an iconic hike, you cannot get any better than Diamond Head overlooking the beaches of Waikiki. Since you don’t want to do any super-strenuous exercise right before the wedding, this is perfect for all of your family & friends. They have even modified the trail so the dreaded stairs are much easier. If you can bring yourself to wake up early, sunrise from Diamond Head is guaranteed to be spectacular.

Plan a day trip to the North Shore for our next few suggestions – you won’t be disappointed! (Just make sure to bring plenty of sunblock and water to stay hydrated!)

  1. The North Shore is the best place to get a taste of Old Hawaii. Haleiwa Town has plenty of quaint shops and as you continue driving, you’ll see many great spots to pull over and view the ocean, see turtles and seals on the beach, and, of course go swimming in the beautiful Pacific Ocean. Waimea Bay is one of the most beautiful beaches and has the advantage of the Waimea Botanical Gardens right across the main road from the beach!
  2. A Hawaiian Plate Lunch is an absolute must when you visit Oahu. One of the most well-known – and ono (delicious) food trucks, Giovanni’s is near Haleiwa Town and cannot be beat if you like shrimp. Plate lunches are available all over the island, so look for the traditional Kahlua pig lunch or indulge in a loco moco (a burger over rice with eggs cooked however you like and gravy to tie it all together).

The Polynesian Cultural Center really needs a day of its own. It is a bit of a drive from Waikiki, but check with your hotel to find a bus to take you there and they may have tour packages available as well. Look into the evening luau packages & don’t forget to take one of the canoe tours through the property. This is a perfect time to learn the history and culture of Hawaii!

For the more adventurous, ocean-loving members of your party, drive to Hawaii Kai and the amazing Haunama Bay for snorkeling. (Once again – don’t forget the sunblock and the water to stay hydrated!) The tropical sea life alone is worth the drive, but the scenery along the way is breathtaking. Drive a little further to see the blowhole and the famous Sandy’s Beach – just be careful as the surf is powerful.

We can’t give away all of the local secrets, but send us a message and we can give you a few hints of favorite spots from a local perspective! Hope to see you soon in our island home!

Thought you might like to know

IMG_4706
Dear Global Brides,  You may find the attached link very interesting, I know I did.
Yours Truly,
Beauty by Tania,
Honolulu, Hawaii
Shared from Weddings on Flipboard. Download Flipboard for free here.

When starting the Bridal Beauty Process

radiant skin and healthy toned shoulders

radiant skin and healthy toned shoulders

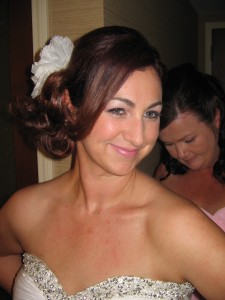
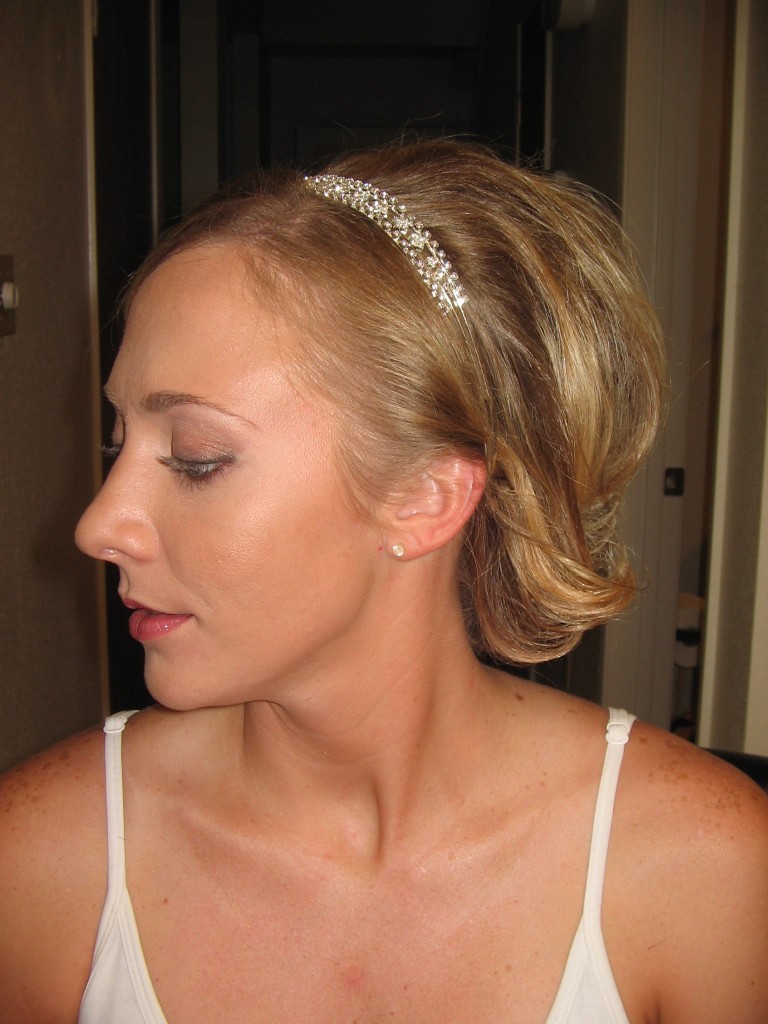
When starting the bridal beauty process, it is a good idea to look in the mirror and see what needs to be enhanced and what may need a little camouflague.  Longer hair is easier with most bridal up do’s, so you might consider growing your hair out starting today.  This should be followed by a trip to your hairstylist to discuss whether highlights, lowlights, treatments and a light trim are needed.  Next, the texture of your skin is obviously very important on your wedding day.  Begin by getting facials once a month at least 3 months before your wedding, this will help the makeup go on smoothly and last longer.  Check out bridal and fashion magazines, Pinterest and the Knot to find the latest bridal looks appropriate for you and your wedding venue.  Book your trial session about 1 to 3 months before your wedding, to ensure the look is perfect for you.  Make a realistic fitness plan and work out with a buddy to help keep you on track.  The two areas of your body to pay close attention to when wearing your wedding dress are your shoulders and abdominals.

That’s it for now.  Remember to enjoy the journey, not just the destination.

Mascara Magic

EXPOSED ROOTS

If you carefully wiggle your mascara at the base of your lashes, you get a gold star. Everyone else: Start doing it. “If you don’t get mascara at the roots, your lashes look shorter than they are,” says makeup artist Diane Kendal.
http://www.allure.com/makeup-looks/2013/most-common-mascara-mistakes#slide=5
Beauty by Tania’s favorite mascara is L’oreal Voluminous Waterproof Black Mascara


Classic Trendsetting Hairstyle

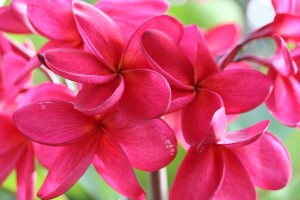
Pink PlumeriaSo this is the last of the 3 Do it Yourself Hairstyles for the season.  I thought pretty hard on this one because I wanted you to trust in yourself and feel good about something new and trendy but also feel confident with a hairstyle that we all wear perhaps too often out of sheer convenience. Well, it’s the good old ponytail with the trendy braid.  Wear it high, at the top of the crown, in the middle back of the head or low at the nape of the neck.  Whichever you choose,  for whatever occasion, it’s yours…now let’s make it trendy, fun and new.  First, make a horizontal part down each side of the head, going downwards, behind the ear. Braid or french braid each strand along side the face and rubberband the ends.  Secondly,  grab the rest of the hair and ponytail it high, medium or low behind the head, to your preference.  Lastly, grab both braids on each side of your face and wrap each braid around the ponytail’s rubberband and pin to secure the ends.  So you short haired girls are probably frowning by now.  Well, don’t worry, this is what you can do if you have a bob length haircut…make the 2 braids on each side of your face keeping the braid close to the face, rubberband both braided ends and tuck the braid behind the ear and pin it underneath the hair.

So Formal, So Easy!

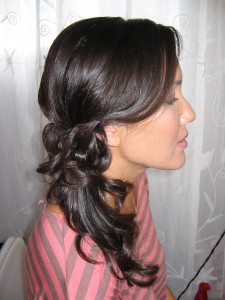
As promised this is my second easy, formal look that any girl can whip up with a a rubberband and a few bobby pins.  First, make a part hair on one side of your head and grab all your hair to the opposite side and make a low ponytail behind ear.  For a youthful, trendy look, curl the ends with a 1″ curling iron and wrap a small strand of hair around the ponytail and use a bobby pins to secure the end.

From here, if you’re hoping to achieve a more elegant and sophisticated look, grab a small strand and curl it around your finger and place it close the base of the ponytail to make a small barrel-size curl and bobby pin the curl close to the ponytail. You may continue to use this same technique, placing the curls around the ponytail so that the base of the ponytail is hidden by the curls. Now hairspray it in place and add your favorite hair jewel/pin or flower near the top and front of the curls. Voila!


Quick & Easy Hairstyling for Your Special Event

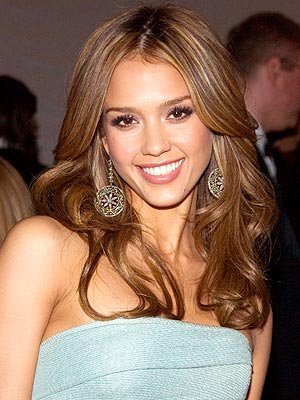
Hey Girls,  We all know that time is of the essence so for my next 3 posts, I’ll describe my 3 favorite hairstyling tips suitable for any event.  Today’s first hairstyle is an all-down curly style using curlers and curling iron.  Put 4 to 5 rollers in your hair, curled backward, in a line at the top of your head, placing rollers front to back.  At this point, it will look like a mohawk on the top of your head.  Then grab small sections of the rest of the your hair and with the curling iron, curl the bottom ends, rolling up about half way.  Remove curlers from the top of your head, throw your head forward, shake your head and flip your hair back.  Run your fingers through the ends to define waves and spray as desired.  To show off your sparkling earrings, pull a small strand of hair up above your ear, twist the strand of hair and bobby pinning it back revealing your earring.

Stay tuned for my next favorite hairstyling tip. . . .


Prime the Skin to Perfection

Longevity is key to any day to night time makeup, especially if you have oily skin. The best way to prep the skin is with a base, try MAC ‘s prep and prime skin base to use under your foundation and after your oil control lotion.  If you have dry skin, use a light to heavy cream depending on your level of dryness.  You can always use heavier cream on the dryer areas and let it soak into the skin for a minute.  Then apply your primer, either with your clean hands or a sponge.  Should you use your hands, press evenly and gently onto the skin.  Now your ready for the foundation. It’s 5 pm and your ready for a new look add a deeper cheek color on the contour of the cheeks and refresh your eye makeup with a darker liner and shadow in the outer corner.  Lastly, dust a mineralized powder in the T zone or use a blotting tissue to pick up shine. Look for a glittery gloss, to apply to the center of your lipcolor. Now have fun…

My favorite lip conditioner for the season

When the fickle weather has got you reaching for every product on the shelf…one thing I know for sure.  The MAC lip conditioner works fast to soften, smooth out dry chapped lips.  Also, I suggest using a tinted color choice in pink or mocha for daytime to repair your lips and restore your confident smile while offering you a soft lip color to compliment your beauty look.   Other suggestions to repair lips from the harsh weather, try using a warm cloth placed over the lips, then use a toothbrush to gently brush off any peeling skin.  Other organic ways to heal the lips,  try 100% shea butter but why stop at the lips, it’s good to use all over the body.

see more at www.maccosmetics.com